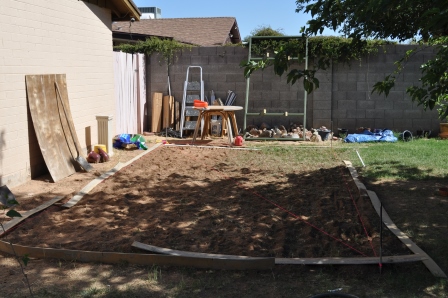
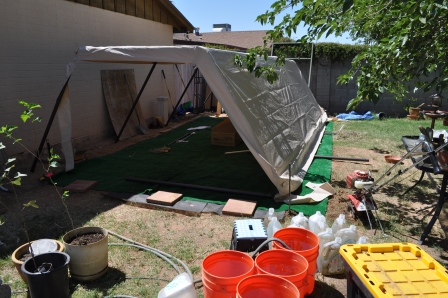
I spent a bit of time trying to figure out the best way to lay out my aquaponics plan. Debbi and I went through many designs for the back yard using a scale layout in Visio to plot our existing trees, the walls, etc. Each one seemed to have a fair amount of startup costs and permanence. What I mean by permanence is the project involved setting or anchoring something in the ground that would stay with the house for a long time. One day, while I was shopping in Costco, I saw a 10′ X 20′ carport tent for around $250.00. After some discussion and looking at our layouts, this seemed to be the best fit. The main feature I liked about this tent was the framework – it looked like it had 1.5″ steel pipe throughout. The sides and canopy were made of fairly good weather resistant materials and had a few openings for windows and other access.
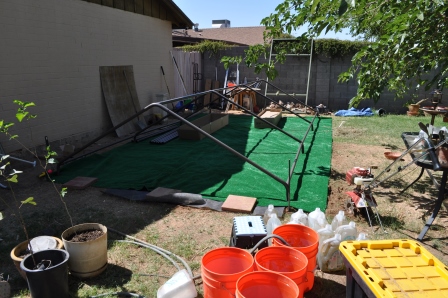
We began by preparing the ground, leveling it out and then laying down artificial turf carpet. We decided against pouring a concrete pad, again, we weren’t sure if we wanted it to be that permanent.
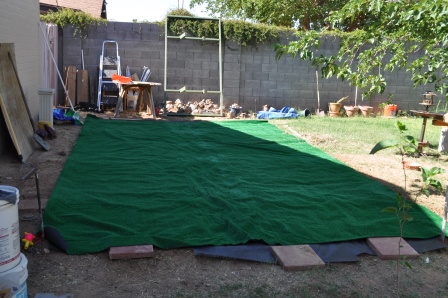
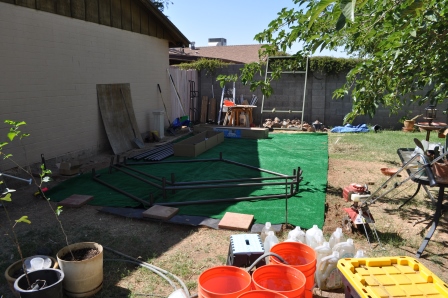
Once the ground was leveled and the carpet laid out, construction of the frame began. I wanted to do this as a one man job, just to see if it could be done. It took me about three hours to put together.

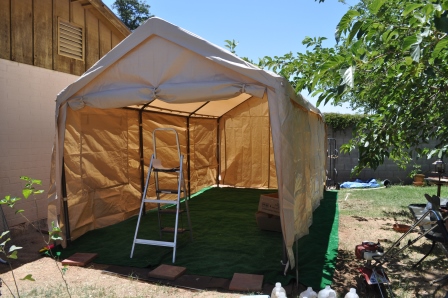
As of this writing, the tent has been in place almost two years. I have had to replace the top canopy last year (cost of about $75.00). The rear drop down (the side facing the grey concrete block wall with ivy on it) has completely disintegrated being exposed to the sun the most. The replacement canopy (UV rated mind you), has also developed holes and weak spots. The only thing that makes me not regret this purchase is the framework, which is still solid and the best feature of this product.
The next canopy replacement will not be with a fabric-like material like the one that is in place today. I will be planning on putting 2X4 cross beams in place and mounting corrugated fiberglass roofing to the beams. I will probably do the same on the end, as it will make the structure more weather-proof. I am still undecided as of yet as to the color of the corrugation as a clear one is available.
All things being said, it has made a reasonably good shelter for my projects and lots of other stuff. Going forward, if plans are what plans are, we will probably pour a concrete pad, re-enforce the roof and replace it with corrugated fiberglass roofing. If we go this route, I expect it will be done late in the year (2014).